Once you have enabled “Color,” you will choose a color and set up the measurement range to which that color applies.
|
1. To add a color and range, press “ADD” under “Color” and “Range” |
 |
|
|
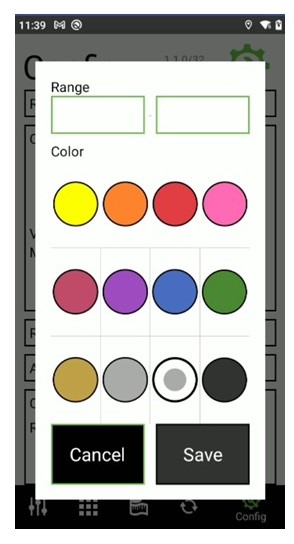
2. A screen will appear with “Range” and “Color” available. |
 |
|
| 3. Select the color. Here, yellow has been selected, shown by the dark dot in the center of the yellow circle. | 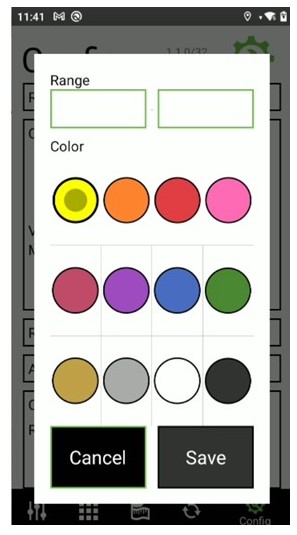 |
|
| 4. Next, enter the measurement range you wish to assign to that color by touching the box under the word “Range.” A number pad will appear. | 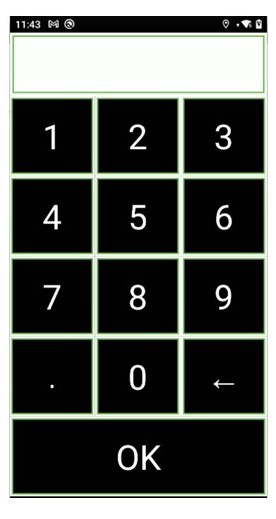 |
|
| 5. Enter the beginning measurement by touching the numbers on the pad and pressing “OK.” Repeat for the ending measurement. | 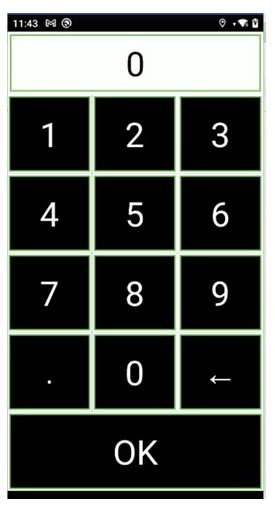 |
|
| 6. Once you have the range desired, hit the Save button. |  |
|
| 7. If successful, you will hear a beep and see a “Success” screen. You will also see the value added below the words DELETE and ADD. | 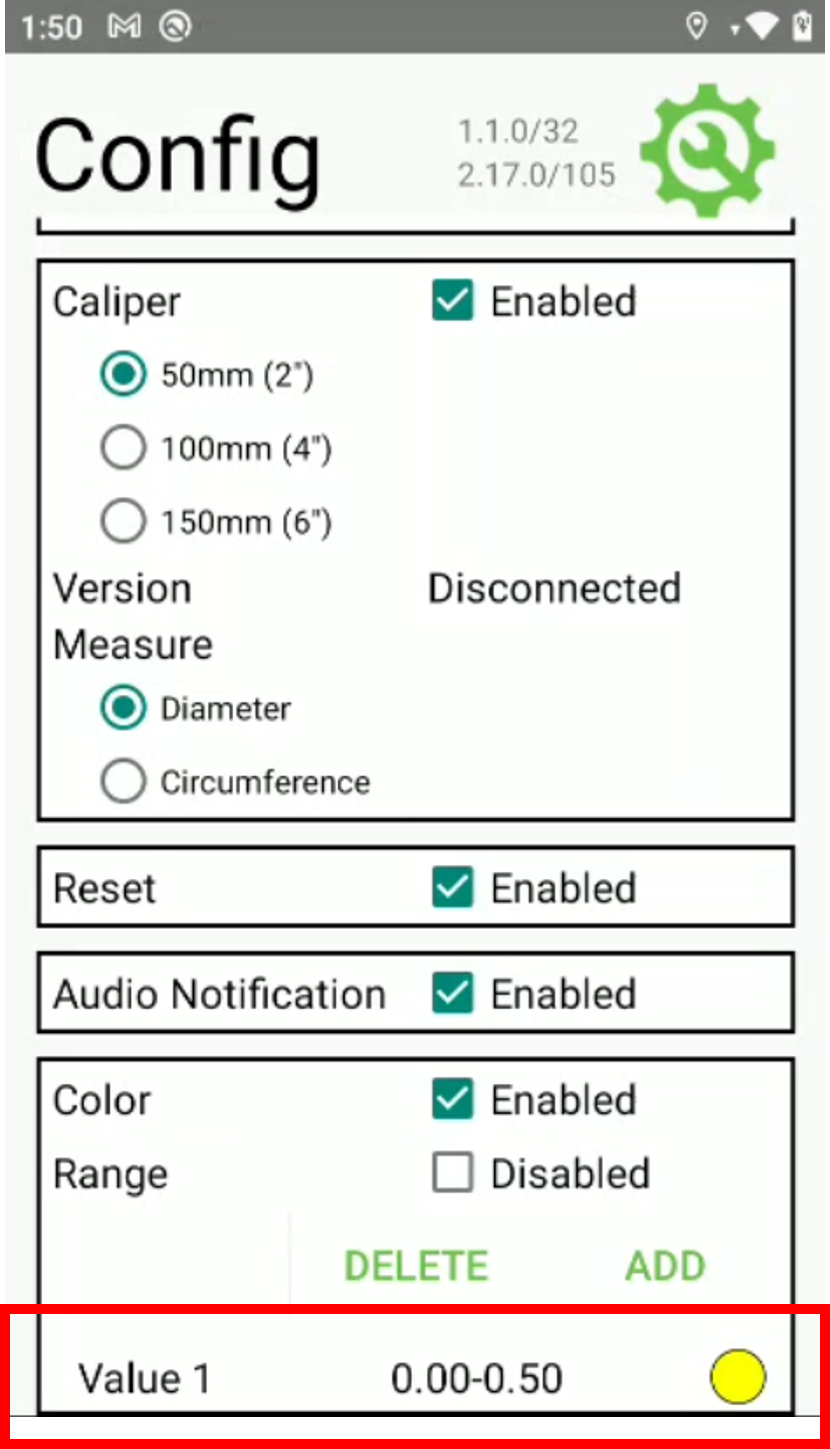 |
If you need additional assistance with adding color range, please contact 2nd Sight at 509-381-2112 or